Add AI
The brains allow us to execute AI based models. Let's add a new brain to the project!
From the Project section on the left menu, click on Brains. Here is where all the brains used by the vision application are added. As the cameras, each brain will appear as a separate tab.
To add a brain click on the add button in the top right corner and the next dialog will appear:
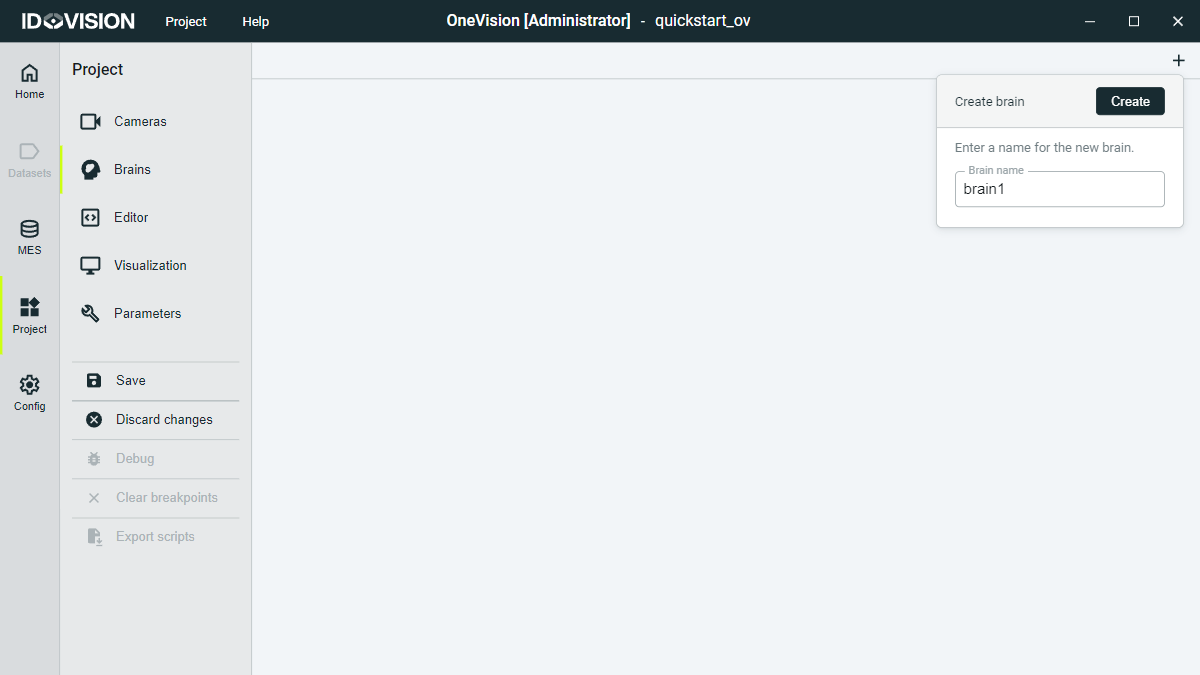
Click Create and you will see a new tab for your brain. Under the icon the brain status is showed. After creating a new brain, the status will show Not initialized.
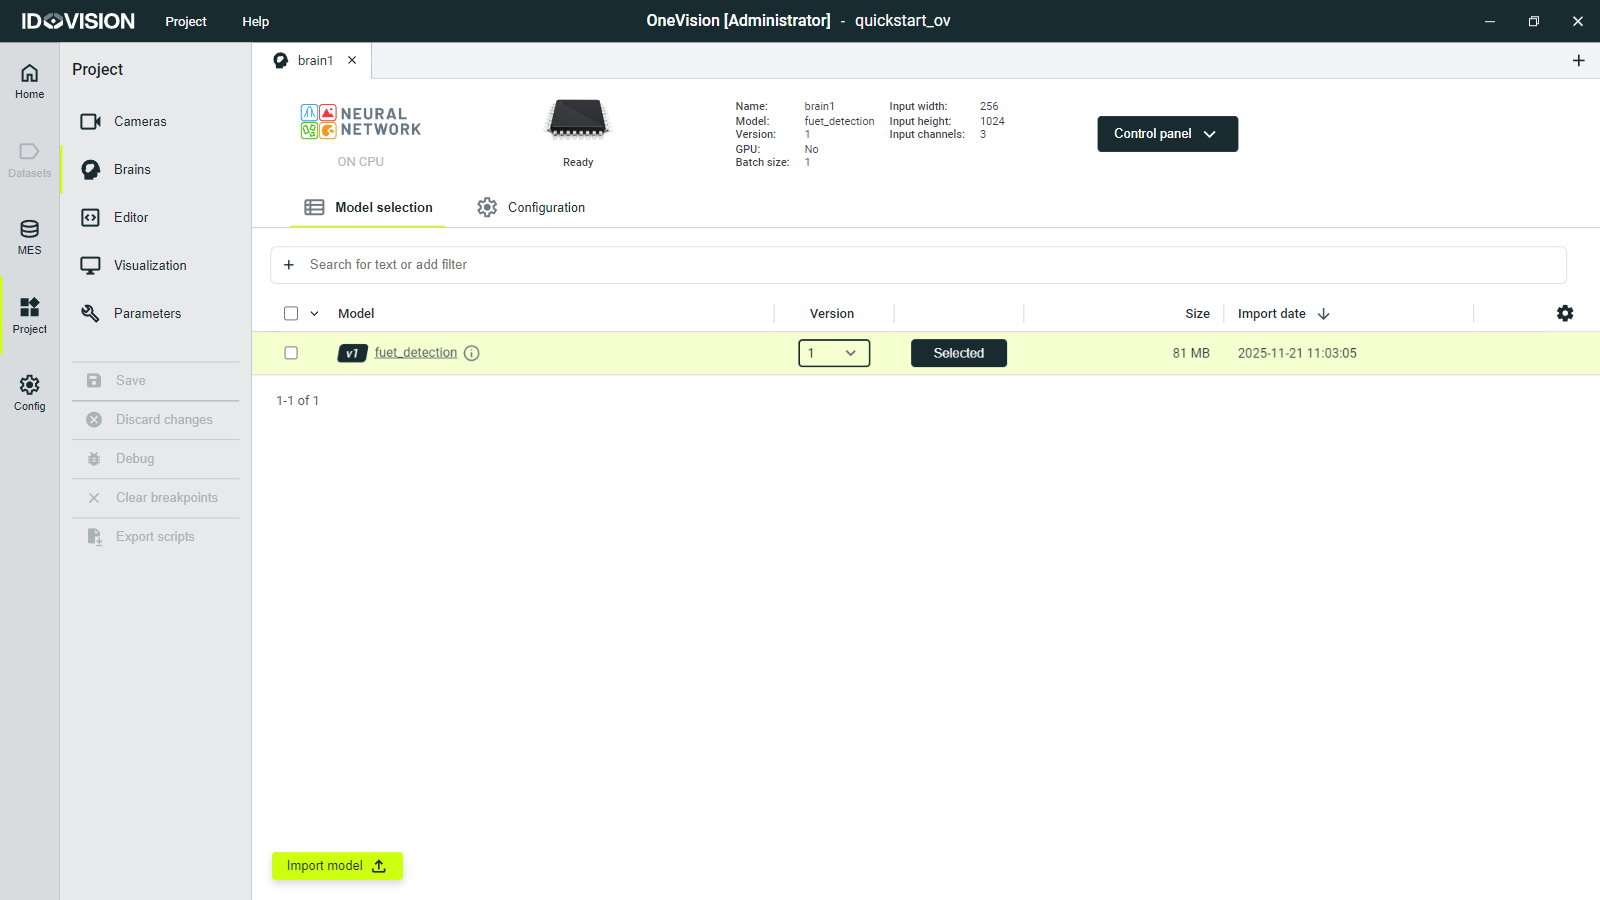
You will see two new subtabs. In Model selection you can choose between the models you have imported to this project. The Configuration tab, is where you can configure different parameters for the brain, such as if inference will run on GPU or CPU.
Let's import an AI model! From the Model selection screen, click on the import button in the bottom of the screen. Select a model file from your computer and click Open. The imported file must have the extension .itsbrain.
Here you have a test model you can import: Download AI model
Now assign the model to the brain by clicking the Select button. Save the changes made to the project and you will see how the brain status changes from Not initialized to Ready.
If no model is selected, the brain status will be Initialization error.
Execute inference on a brain
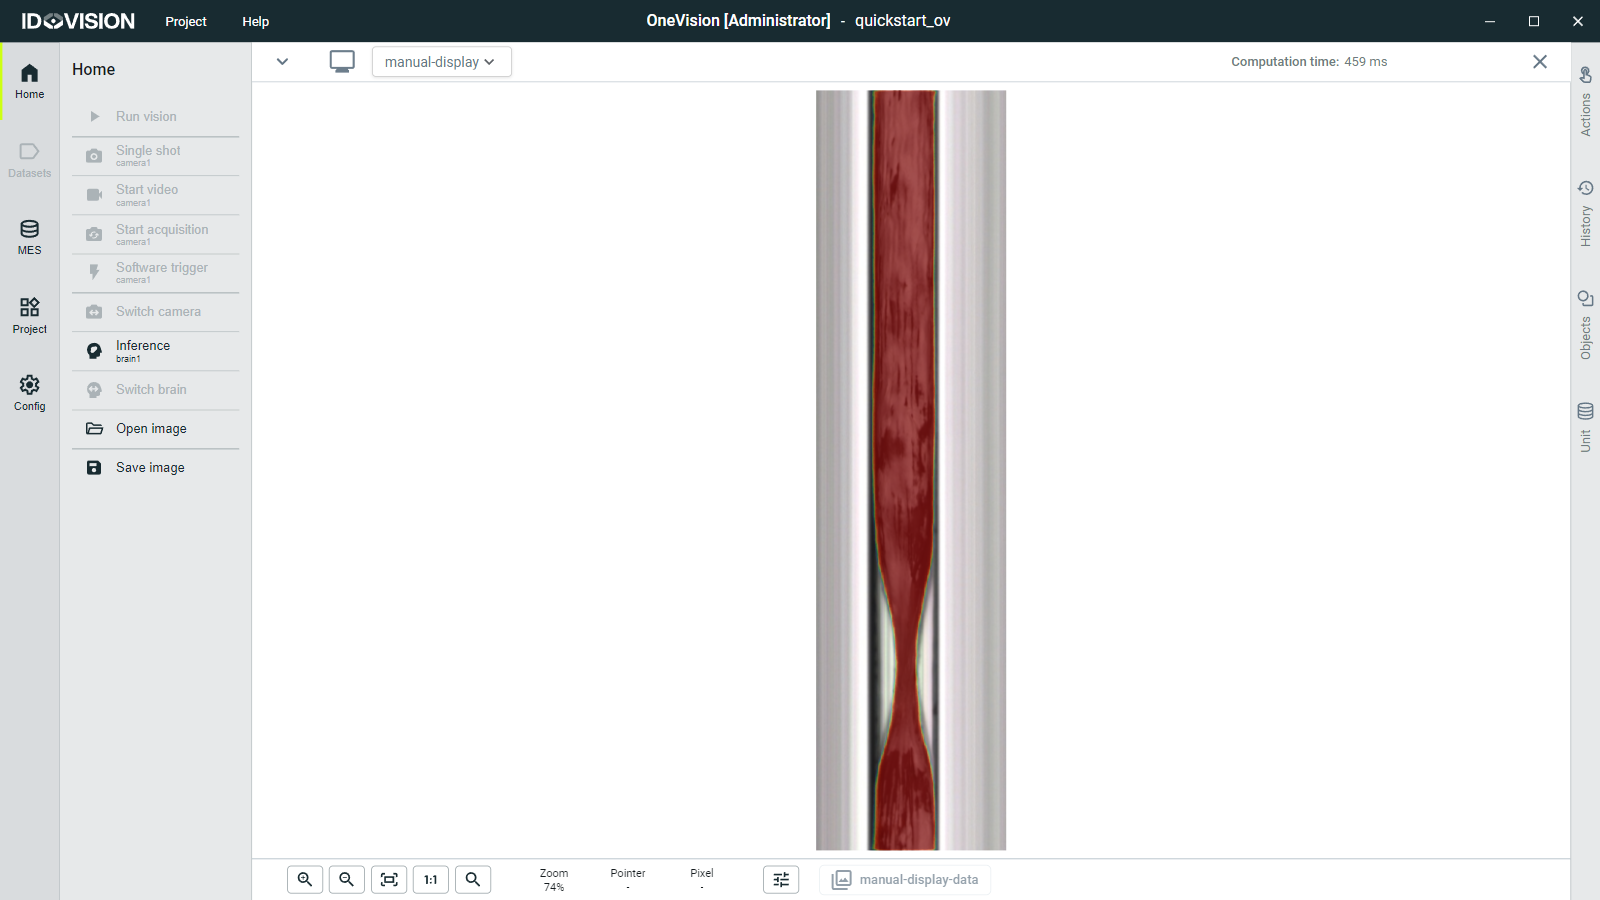
Let's move back to the Home section and see how the brain works. Click the Open Image button and load the next image: Download test image (It's a .zip file, you must extract it)
Now click Inference to execute a manual inference on the image.