Configure Elements
To configure a visualization element, click on it and go to one of the three menus at the bottom of the right side bar.
Element position and size menu

This menu is the same for all the elements and allows you to:
- Arrange the element layer to push it forwards or backwards.
- Change the element position by writing the X and Y coordinates in pixels.
- Change the element size by writing the width and height in pixels (you can lock the aspect ratio by pressing the Ratio button).
- Align the element relative to the page.
- Set the initial value to visible or hidden. You can change it later by code.
This is the only of the three menus available when multiple elements are selected. You can select multiple elements by holding Ctrl while selecting elements.
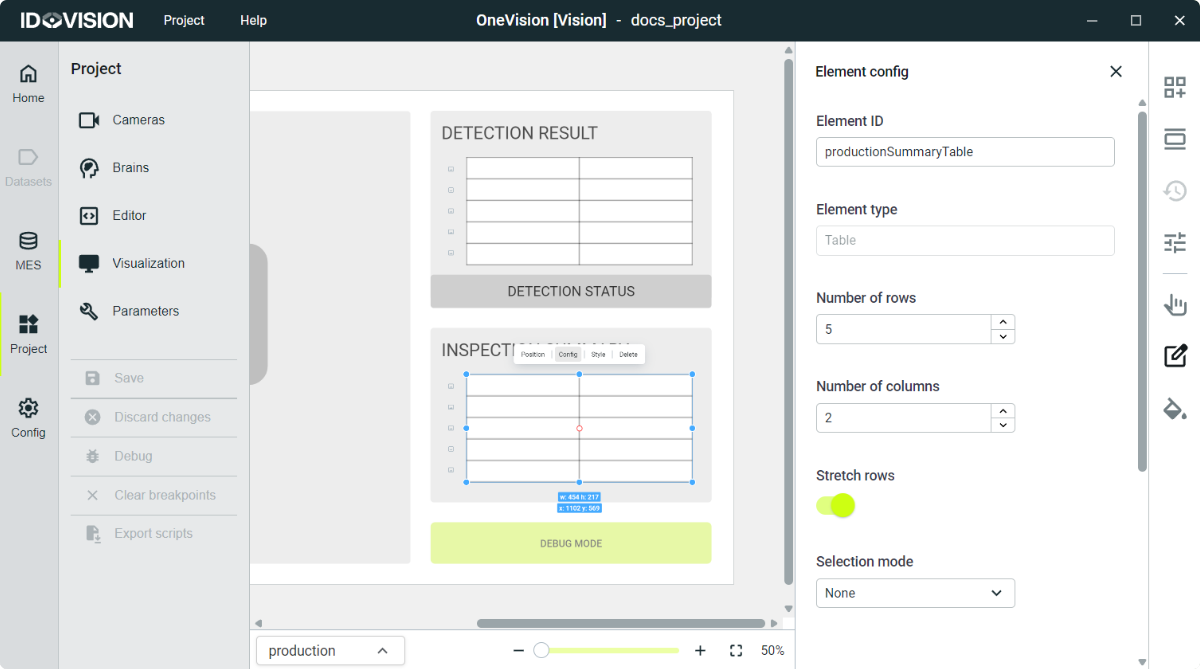
Element configuration menu
This menu has two fields equal for all the elements which are:
- Element ID: A unique name for the element. Very important because it's the name you will refer to in the code.
- Element type: Read-only field that shows the element type.
The rest of the elements are the specific features of each element such as the text in a text box, the rows and columns in a table, the default action in a button...
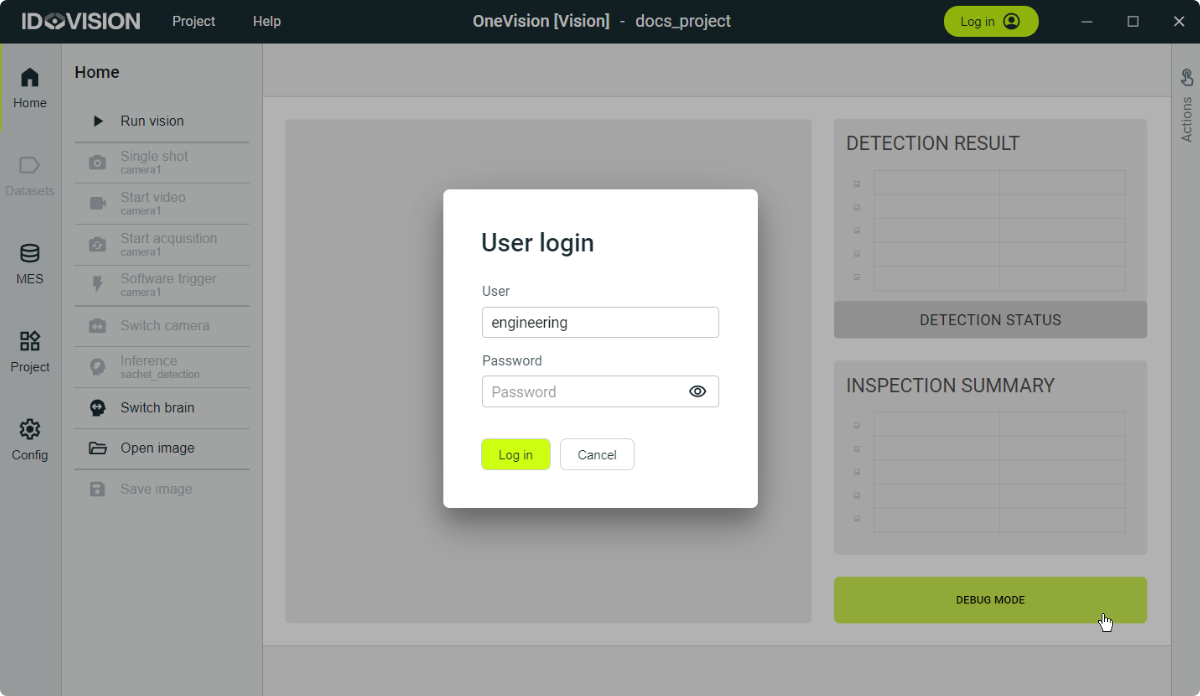
User level restrictions on interactive elements
Some interactive elements —such as buttons, selectors, and text inputs— can be configured with a minimum user level.

When working in the production view (see Home), if user management is enabled (see User Access Control) and the operator interacts with an element that has a minimum user level configured, the system will prompt the operator to log in with a user account that meets or exceeds the required level before the action can be executed. If the operator is already logged in with a sufficient user level, the action will be executed immediately without any additional prompt.
In addition to the minimum user level requirement, interactive elements provide a checkbox option called Disable below user level.
When this option is enabled, the element will appear disabled in the production interface if the operator is not logged in with the required minimum user level. In this case, the element cannot be interacted with until a user with sufficient permissions logs in.
User level checks are only applied when user management is enabled. If no users are configured, all interactive elements behave as unrestricted.
Element appearance menu
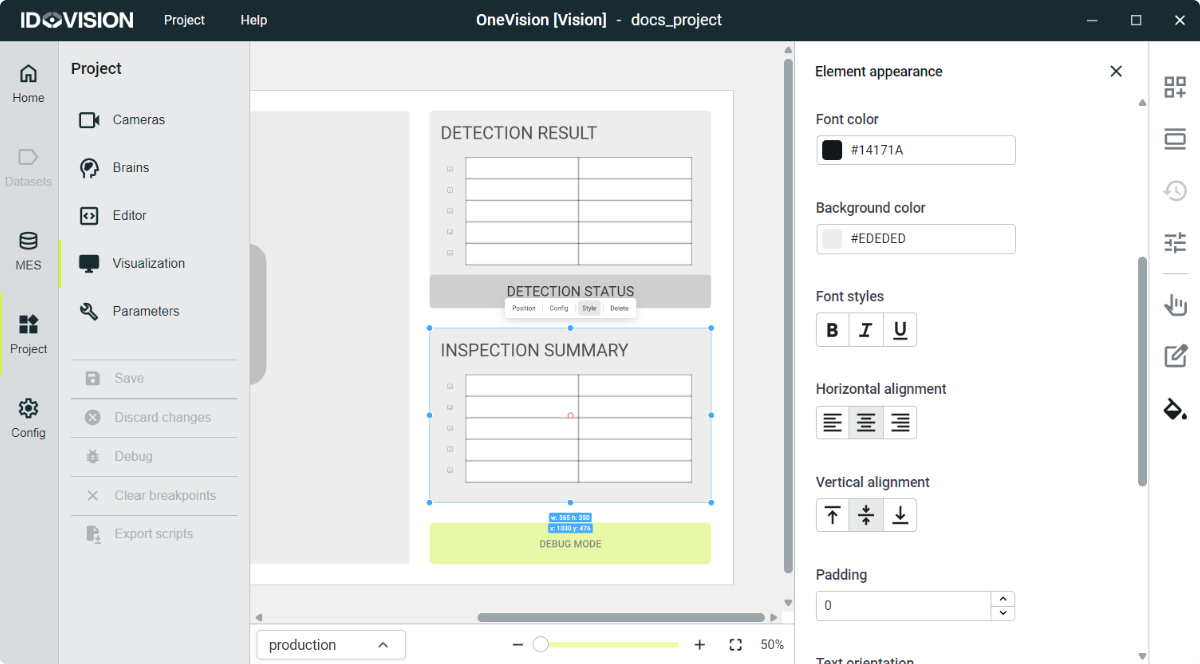
This menu has the appearance features of the element such as the text alignment, font color, font size, background color, border width, border radius...